The Edware on the Web Elevation Server is the talk around the proverbial water cooler this week. We are testing the software, and based on feedback from our reviewers, we are really excited about the possibilities. Yesterday, while talking to a reviewer about the future of EdWare ES, the topic of visualization of EdWare imagery in Google Earth came up. In past posts we talked about using the Edware ES to brand web maps...yesterday's conversation reminded us that the output from elevation server can be brought in to brand a Google Earth project as well.
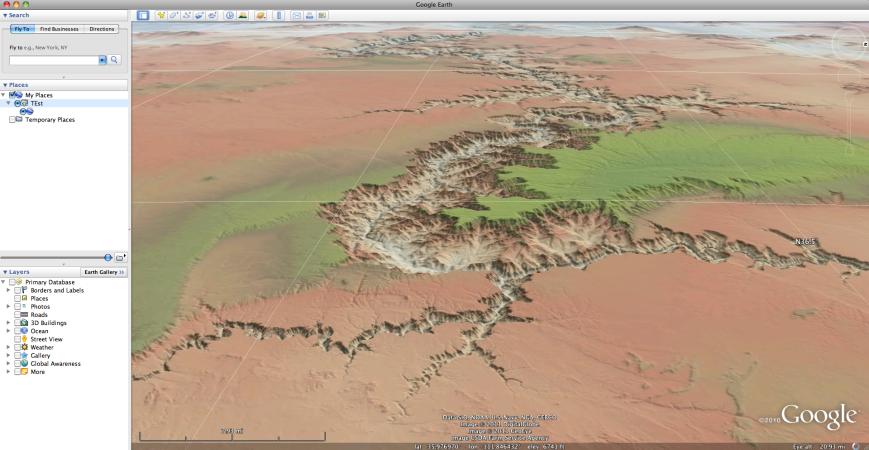
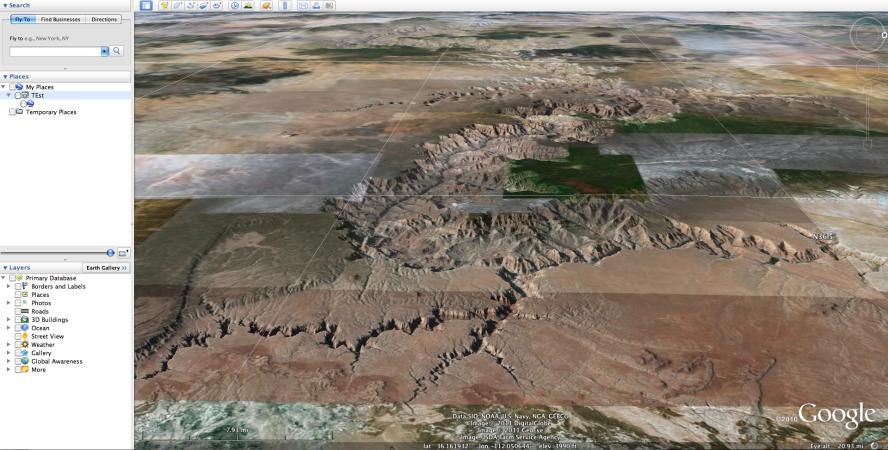
As we all already know Google Earth is a powerful visualization software application. The top image – of the Grand Canyon – is a screen shot taken straight from Google Earth. In my opinion, the shadowing in the foreground (southeast corner) of the image provides a compelling view of the canyon. Obviously the tiles in the foreground were captured when the sensor on the satellite was at some angle past nadir. While informational, the first image lacks continuity and clarity. I would go so far as to say that the tiles form a dissonant patchwork of imagery.
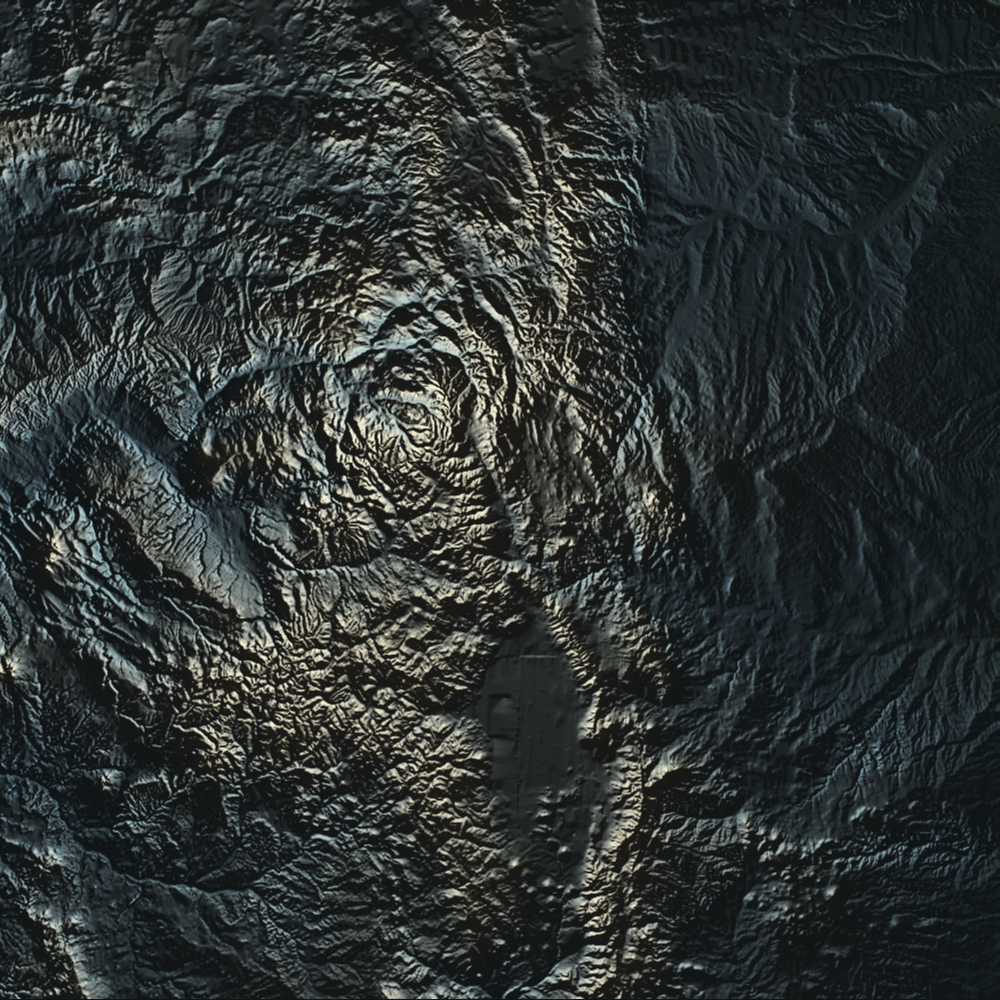
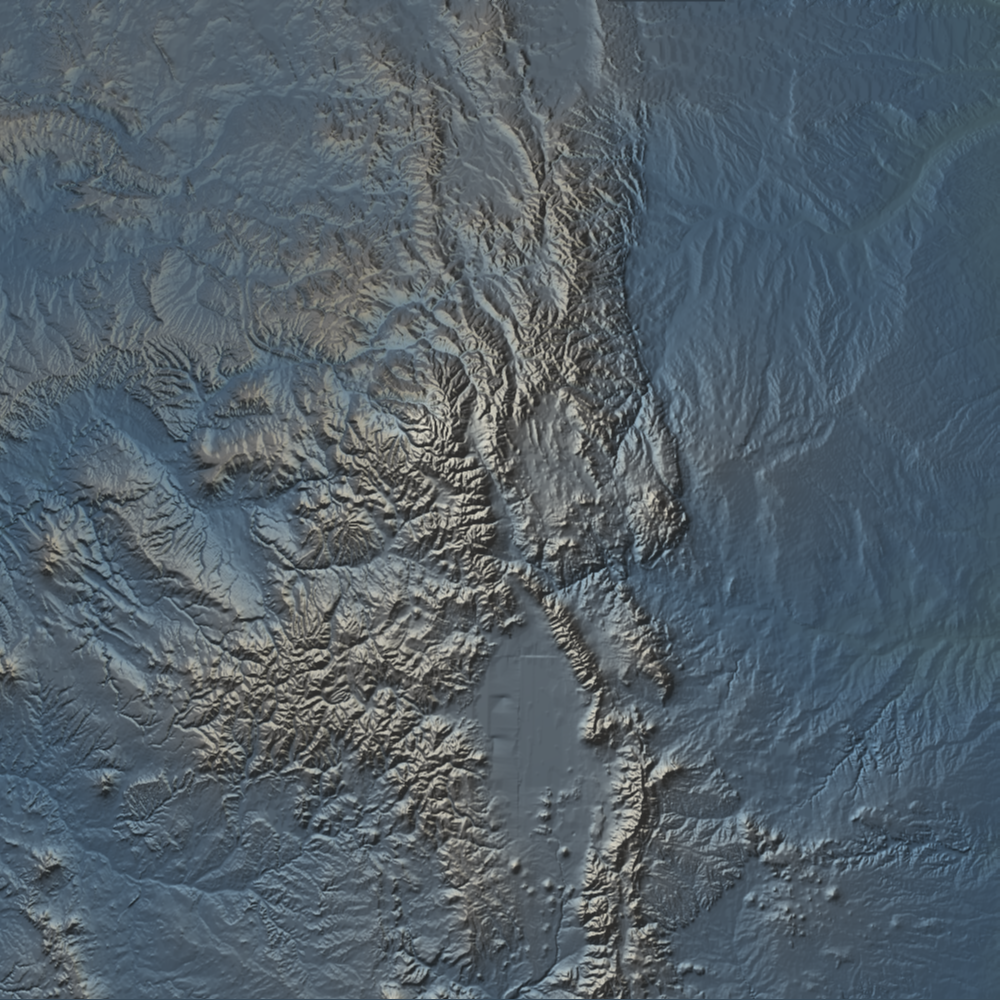
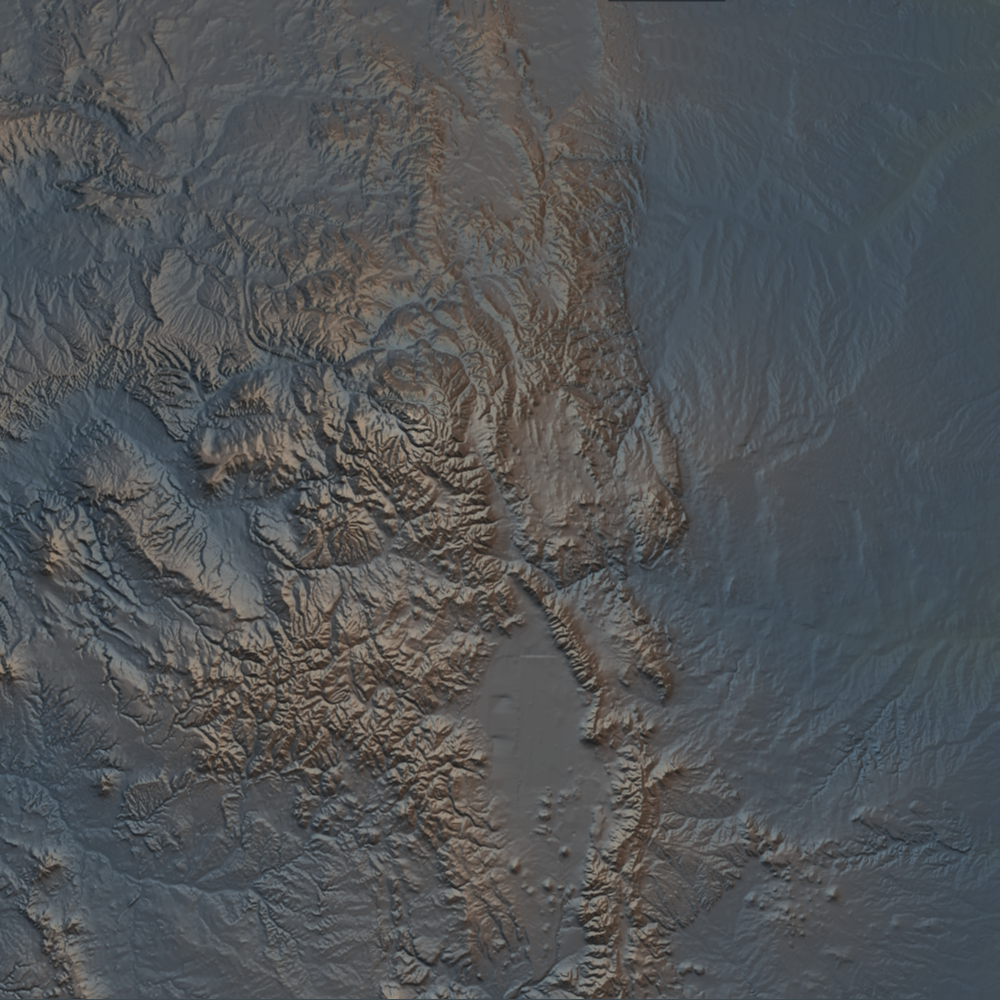
The second image (below) was developed by the EdWareontheWeb Elevation Server; the KMZ was then imported into Google Earth (the kmz for this file can be accessed from this link). Besides providing a clean, consistent base layer I think the addition of the EdWare Elevation Server imagery gives me a better idea of what the landscape actually looks like.
Tuesday, June 14. 2011
Hillshading With Multiple Light Sources
Hillshade or shaded relief imagery provides an informative view of topography. This technique involves illuminating the virtual landscape with a light source, most commonly a directional light source located to the northwest (upper left) of the image area.
Here's an example with the traditional lighting (click for high res version):
Directional light sources are typically implemented as a vector, indicating the direction to the "sun" or light source. Alternatively, you can use point light sources, located at specific locations. Direction vectors are then calculated from each locale on the landscape to the point source.
Here's an example of the same area illuminated by a point light source located just above and left of the image center (click for high res version):
Mixing the light sources from the above examples produces this image (click for high res version):
...and here's one more where I've added a red-hued directional light source from the East (click for high res version):
Mixing light sources can help accentuate landscape features that aren't easily brought out with a single source. This feature is coming soon to the elevation server.
(Page 1 of 1, totaling 2 entries)